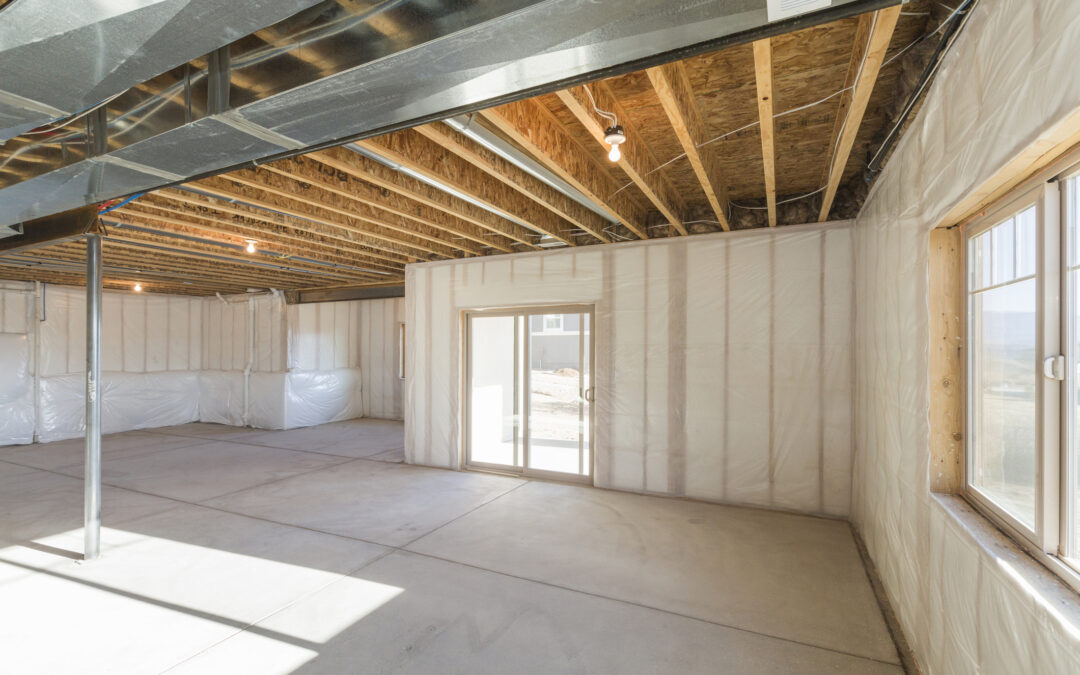
A finished basement adds value to a home, but before jumping into framing walls and choosing basement flooring, there’s one crucial step homeowners can’t afford to overlook: waterproofing.
Basements are naturally prone to moisture issues, and failing to address them before construction can lead to water damage, mold growth, and costly repairs. Even minor water leaks from a foundation wall or basement floor can ruin drywall, warp flooring, and compromise the entire basement remodel. Finishing a basement is a big expense for most homeowners, so it’s crucial to protect your investment by first waterproofing the space.

Step 1. Inspect and Waterproof the Basement
Before transforming an unfinished basement into a livable space, you need to address moisture problems. Your basement may be dry now, but over time water intrusion is possible with shifts in the home, soil around the foundation, and weather patterns. Having a waterproofing system in place will ensure your finished basement stays dry for the long run.
Check for Signs of Moisture Damage
Start by looking for common indicators of water issues:
- Damp spots on foundation walls or the basement floor
- Musty odors or visible mold growth
- White chalky residue on concrete walls
- Warped wood, peeled paint, or rusted metal surfaces
To test for hidden moisture problems, tape a piece of plastic to the basement floor or wall for 24 hours. If condensation forms underneath, the concrete floor or exterior wall is allowing moisture to pass through.
Waterproofing the Basement
If any water leaks or moisture problems are present, they need to be addressed before moving forward with insulation, drywall, or flooring.
- Install a sump pump that redirects water away from the foundation to prevent flooding
- Install a waterproofing drainage channel to collect future water seepage and carry it to the sump pump system
- Seal foundation cracks with a crack repair sealant to prevent seepage
- Clean gutters, extend downspouts, and adjust soil grading to improve drainage around the home
- Use vapor barriers draped along the face of the basement walls to prevent moisture from coming in contact with the finished walls
Skipping the waterproofing process is one of the biggest mistakes a homeowner can make when planning a basement renovation. Taking the time to fix water issues early on means fewer problems and a stronger, more durable finished basement.
Step 2. Obtain Permits and Follow Building Codes
Finishing a basement also requires meeting building codes and obtaining the right permits. Skipping this step can lead to failed inspections, costly fines, and even needing to tear out completed work.
Building Permit Requirements
Most cities require a building permit for any major basement renovation, especially when adding:
- Electrical wiring and light fixtures
- Plumbing for a basement bathroom
- Framing and insulation for basement walls
- HVAC ductwork or ventilation upgrades
Basement Building Codes
Beyond permits, basements also must meet local building codes for safety and functionality. Common requirements include:
- Ceiling height – most codes require at least 7 feet of clearance from the basement floor to the finishing ceiling panels
- Electrical work compliance – all wiring must meet national safety standards, and outlets should include GFCI protection
- Egress window installation – if adding a bedroom, an egress window must be installed
Before starting construction, check with local authorities to understand specific code requirements. Planning ahead ensures a smooth basement finish without unnecessary setbacks.
Step 3. Plan Structural and Utility Upgrades
Once waterproofing is complete and permits are approved, the next step is framing the basement walls. This involves:
- Installing a bottom plate
- Spacing studs properly
- Insulating the exterior walls
A sturdy frame lays the foundation for drywall and finishing touches, so precision in this step is key.
Upgrading Electrical Systems
Before sealing up walls and ceilings, homeowners should:
- Map out electrical wiring
- Install plumbing for a basement bathroom (if applicable)
- Ensure easy access to main utility lines
Failing to plan for electrical work and plumbing upgrades early on can lead to costly adjustments later.
Step 4. Install Flooring and Walls
With waterproofing, permits, and structural work completed, the basement finishing can move on to the visible transformations of creating liveable spaces.
Choosing Basement Flooring
Since basement floors are made of concrete, they can absorb moisture and cause damage if the wrong materials are used. The best flooring options are vinyl plank or tile, ceramic or porcelain tile, or epoxy-coated concrete floor. Avoid traditional hardwood, as it can warp and absorb moisture over time.
Proceed with caution when selecting carpet for a basement. While it offers a cozy feeling and warmth underfoot to the space, it’s susceptible to absorbing moisture. If you properly waterproofed the basement before finishing, carpet can be a good option for an inviting living space.
If you choose carpet, be sure the installers don’t use nails or screws to install the tack strips to the concrete floor as that puncture in the concrete is an opportunity for moisture to enter the basement. Instead, use an adhesive to secure tack stripes.
Installing Walls and Insulation
After framing, walls need proper insulation and finishing materials to create a comfortable living space. Insulate exterior walls to regulate temperature and seal around the bottom plate to block any potential air leaks or moisture seepage.
Also, check with local building codes for fire rating requirements. Basement walls, especially those used for living or storage, generally require a 15-minute fire barrier. This can be achieved through various methods, including using fire-rated drywall or other approved materials.
At this stage, the space looks complete, but without proper waterproofing, all that effort could be at risk. Before moving furniture in, it’s crucial to ensure the basement will stay dry for years to come.
Why Waterproofing First Saves You Time and Money
A finished basement is a major investment, but without proper waterproofing, all that hard work can be undone by water leaks, moisture damage, and mold growth.
Homeowners might think that once a basement remodel is finished, water won’t be an issue. The reality is that even small cracks in a foundation wall or concrete floor can allow moisture to seep in, leading to:
- Warped flooring and drywall damage from excess moisture
- Mold and mildew growth that affects air quality
- Structural deterioration of wood framing and insulation
- Costly repairs that require tearing out parts of the finished basement
A Dry Basement Means a Long-Lasting Renovation
By taking the time to install a sump pump, drainage system, and waterproofing membrane, homeowners ensure that their newly finished basement lasts for years without moisture-related issues. A well-sealed basement wall and properly drained floor create a solid foundation for comfortable living.
How Waterproof Helps Homeowners Get It Right
With over 50 years of experience, Waterproof provides homeowners and contractors with industry-leading waterproofing solutions, including:
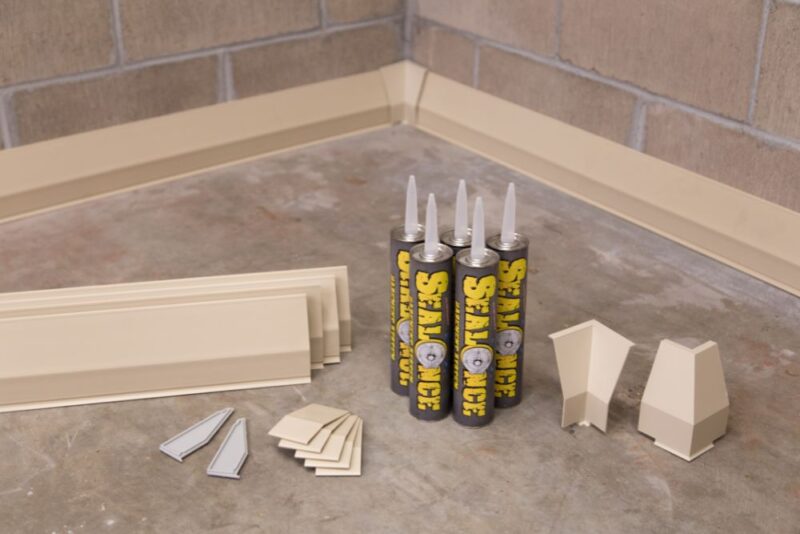
- SealOnce DIY Basement Waterproofing System – A complete waterproofing system designed to seal foundation walls, block water intrusion, and create a long-lasting moisture barrier before basement finishing.
- DIY Sump Pump Kit – A must-have for basement waterproofing, this easy-to-install sump pump system redirects water away from the foundation, preventing flooding.
- DIY Foundation Crack Repair – Seals and strengthens cracks in basement walls before they become major water leaks.
- DIY VaporBright Crawlspace Kit – A premium vapor barrier designed to block moisture and improve air quality in basements and crawlspaces.
Skipping waterproofing is one of the most expensive mistakes you can make when finishing a basement. A dry basement is the foundation of a successful renovation – and we’re here to help make it happen.
Browse our full line of DIY waterproofing solutions at Waterproof.com or talk to an expert today!