How to Waterproof a Basement
Step-by-Step Installation Guide
Included with every order of our do-it-yourself SealOnce Basement Waterproofing System is our easy to follow printed step-by-step installation guide. It will walk you through in detail how to waterproof a basement yourself using our trusted and proven system!
")
No Special Tools Needed For Installation
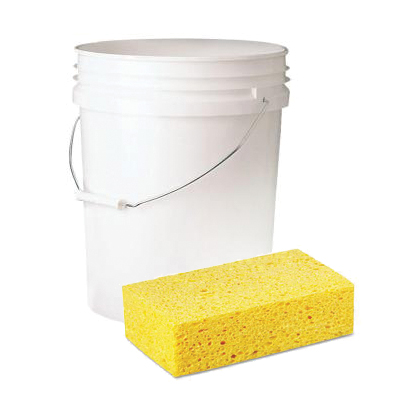
Sponge, Bucket & Broom
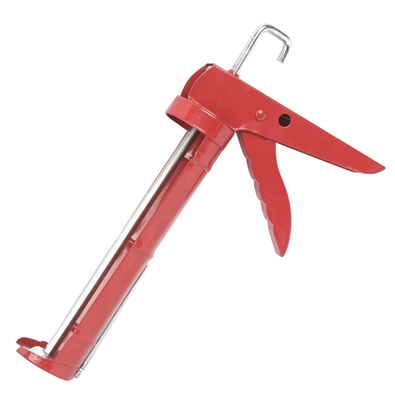
Caulking Gun
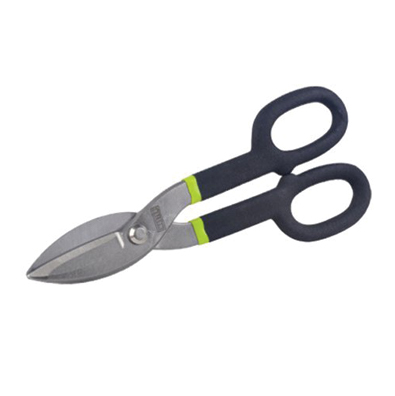
Tin Snips or Hacksaw

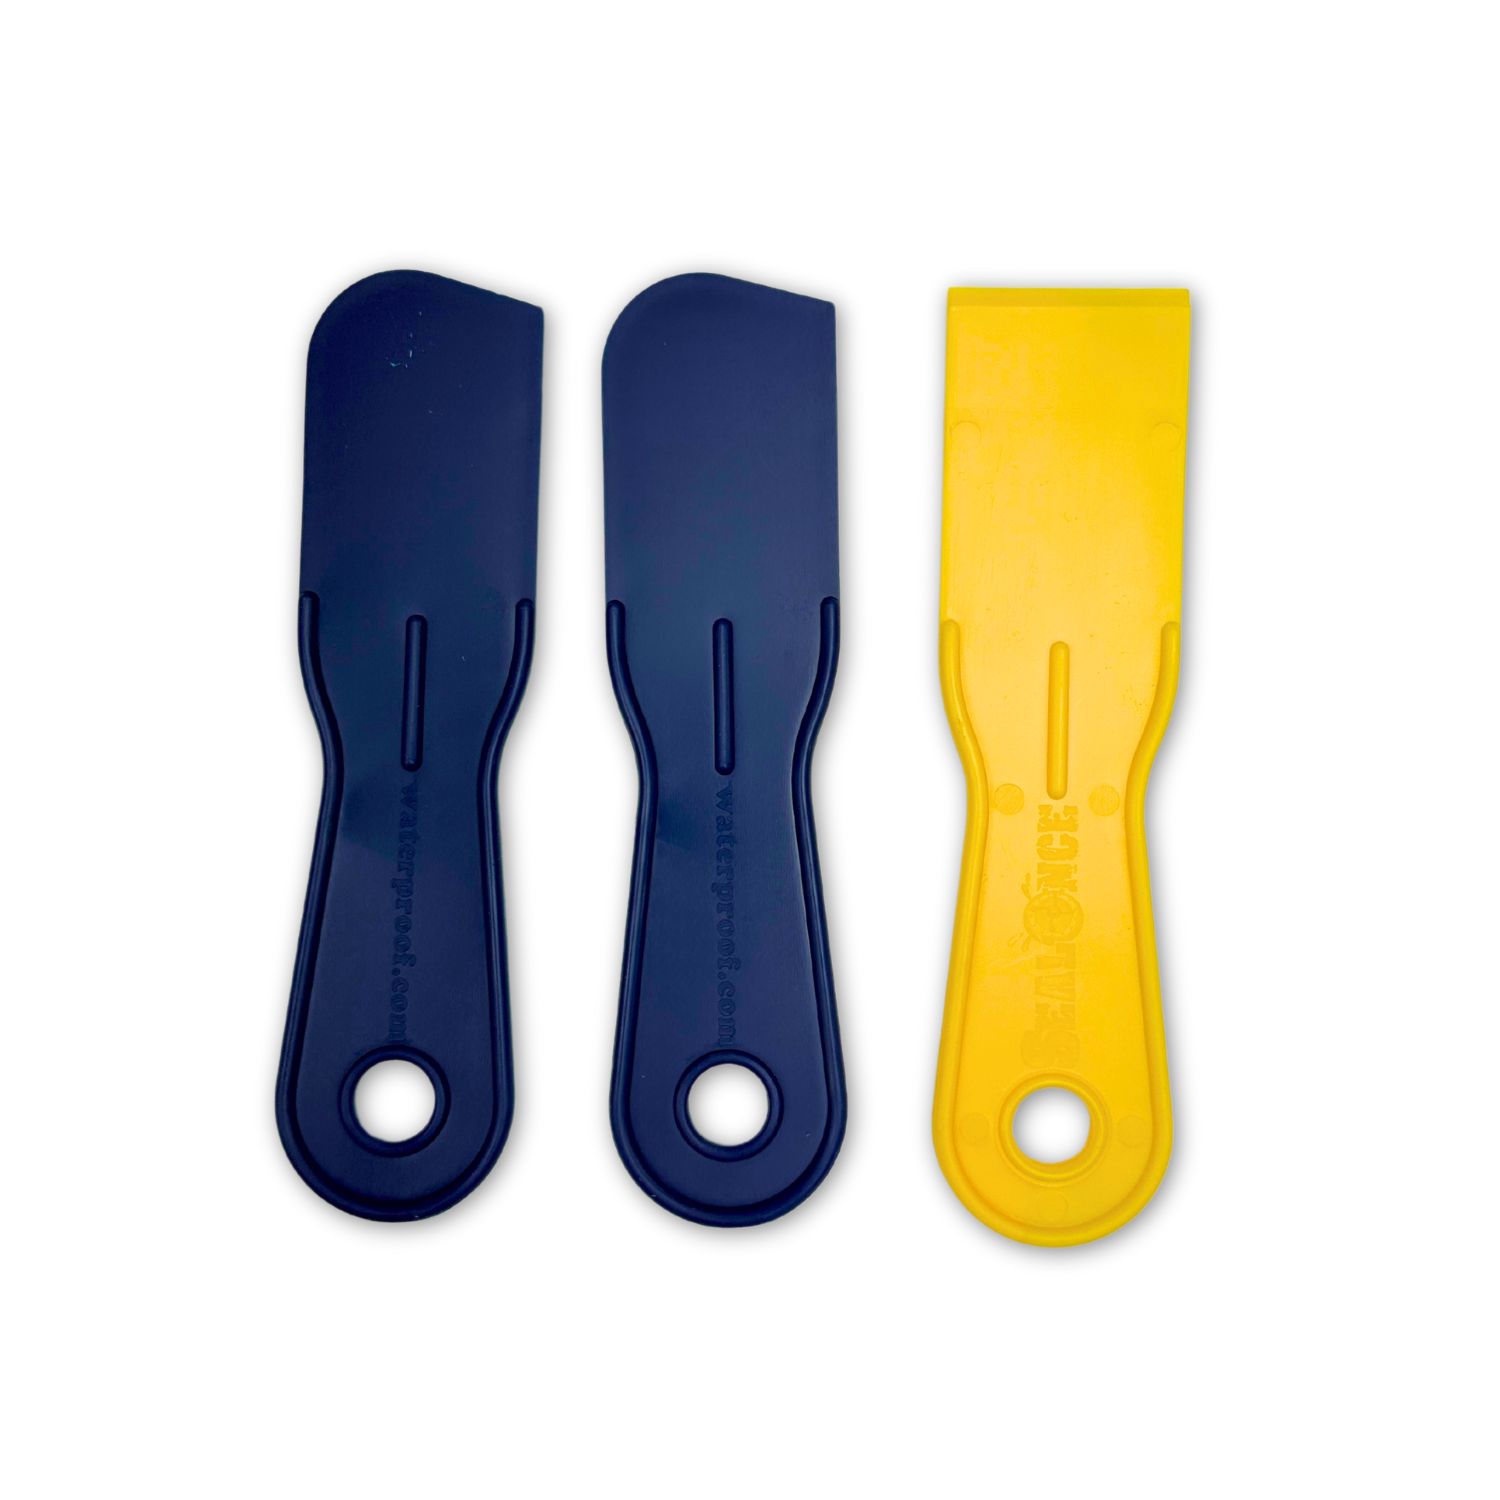
Our Perfect SealOnce Tool Kit
Helpful Tips Before You Start
One of the most important steps when installing the SealOnce Basement System is prepping your concrete floor. Be sure your floors are free of paint, dust, and residues.
SealOnce Adhesive is moisture activated and cures in wet conditions. Moisture isn’t necessary for the adhesive to cure. You can install when concrete is damp to the touch, but avoid installing system in stadnding or running water.
There is no need to prep your basement walls, as the top of the channel is not sealed to allow any seepage from the face to be collected behind the system and carried to the drain outlet.
Step 1: Relieve Hydrostatic Pressure (Block Walls Only)
If you have a block wall foundation you’ll start by relieving the hydrostatic pressure by drilling 1/2” to 5/8” weep holes into the hollow cells (4” to 6” in from each mortar joint) of your block walls at the point where the floor and wall meet. Solid poured concrete, brick and stone walls have no hollow cavities, therefore, you don’t drill weep holes.

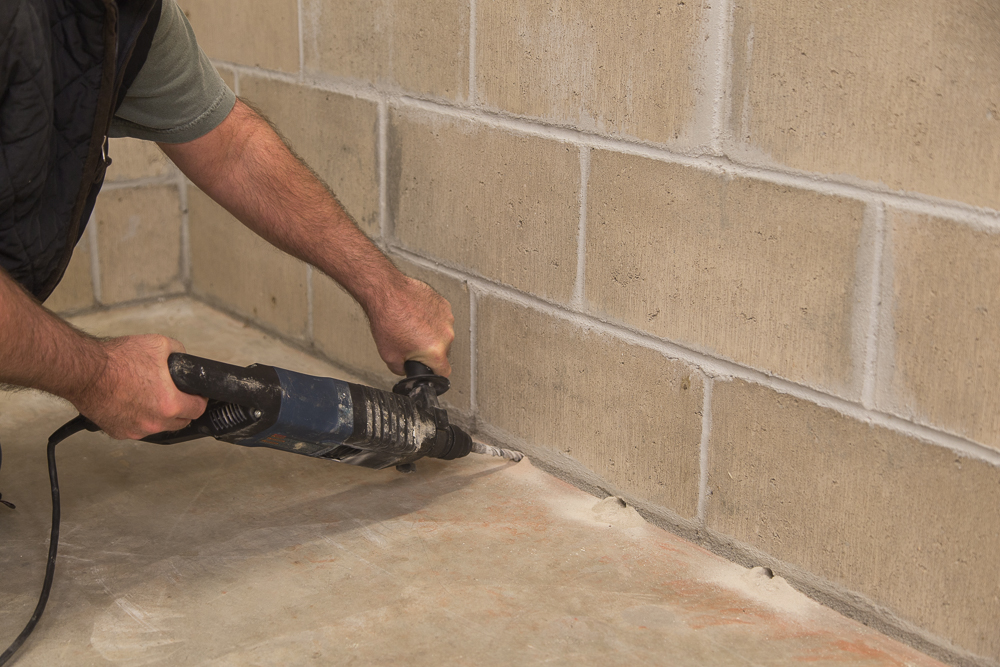
Step 2: Remove Any Paint, Old Adhesive or Debris From Concrete
To properly bond and seal the system to the concrete floor the floor area along the wall approximately 3” wide must be stripped to bare concrete. To remove all paint and tile adhesive, use a metal drill attachment to nick at the surface. Do NOT use paint strippers or chemicals of any kind to remove old paint or adhesive.
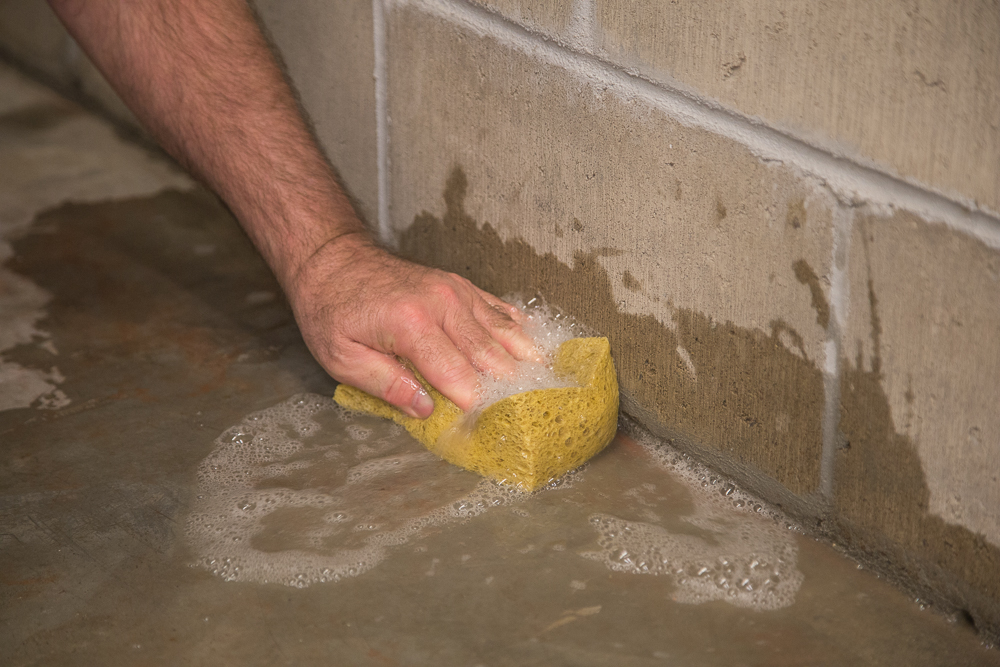
Step 3: Clean Floor Properly
Important step! Sweep the concrete clean of any debris and dust. Clean the bare concrete floor by washing the surface with clean water (no soap) and a sponge to remove all dirt and dust. When you are finished rub the area with the pads of your fingers feeling for an loose grit left behind. If you feel loose grit, clean the area again with clean water and your sponge.
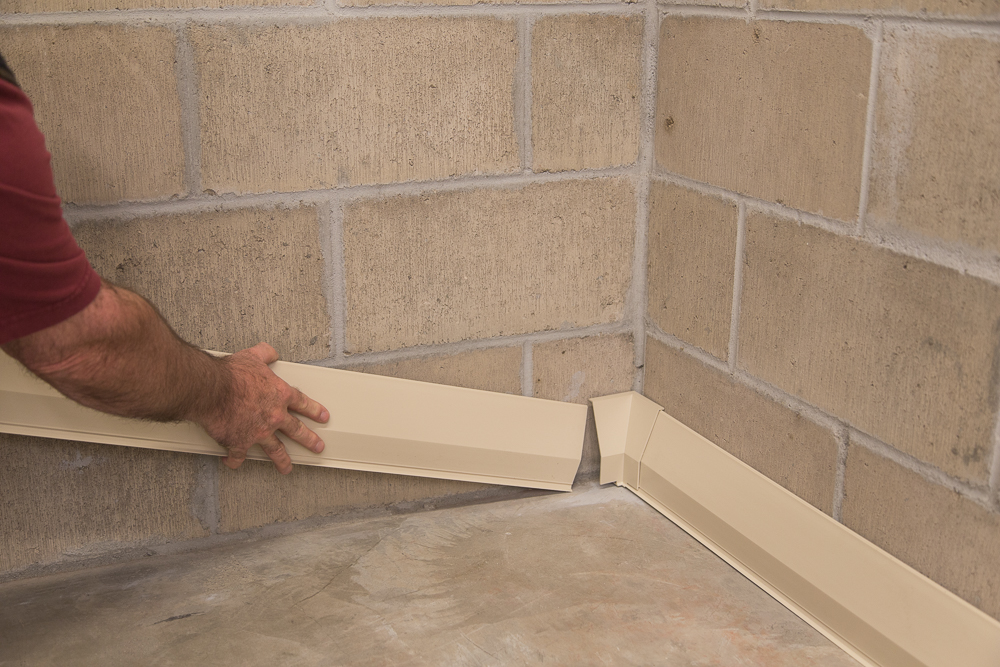
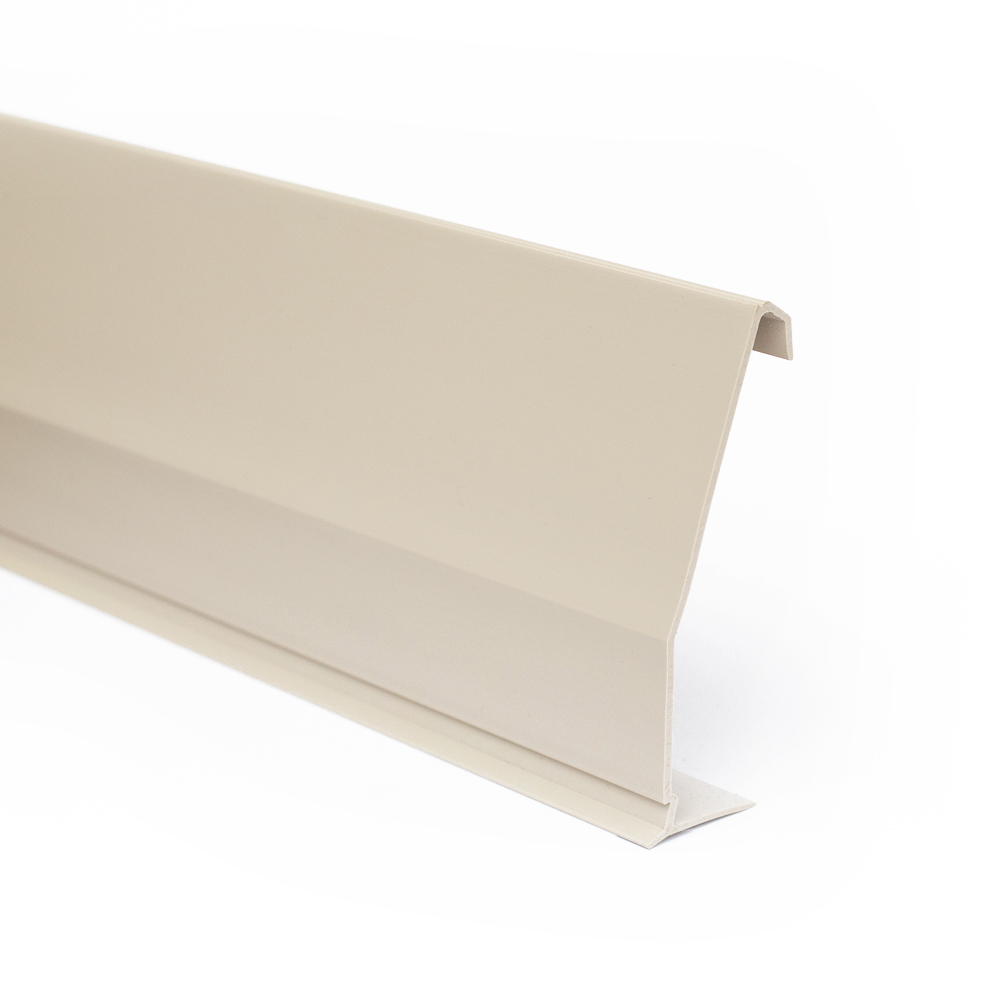
Step 4: Layout System
Now, you’re ready to cut and trial fit the main sections along the basement walls. Place inside and outside corners where needed. Next, place full main sections end-to-end along the walls. Use a tin snips, hacksaw or miter saw to cut the main sections as needed. Layout the system just as it will be permanently installed.

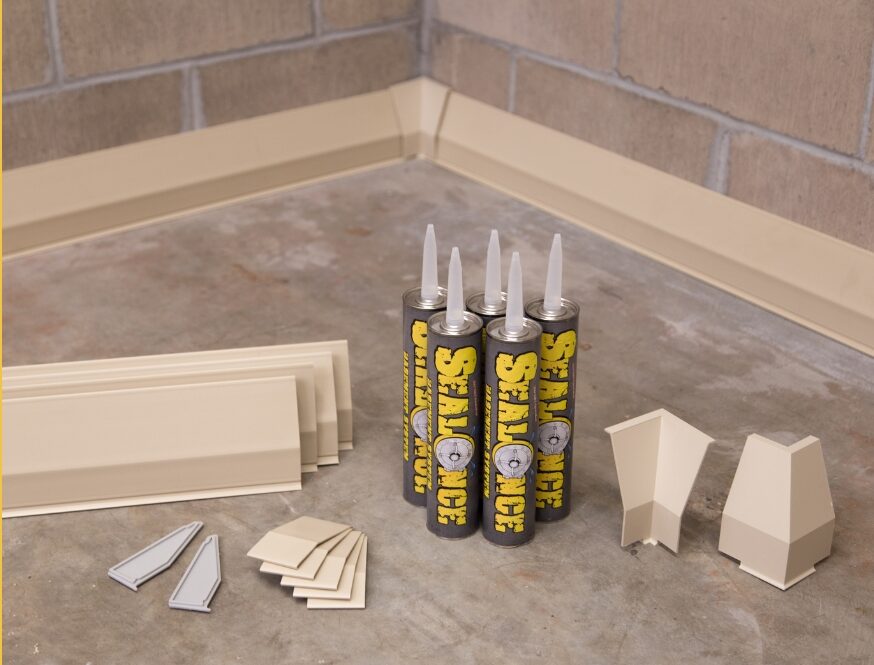
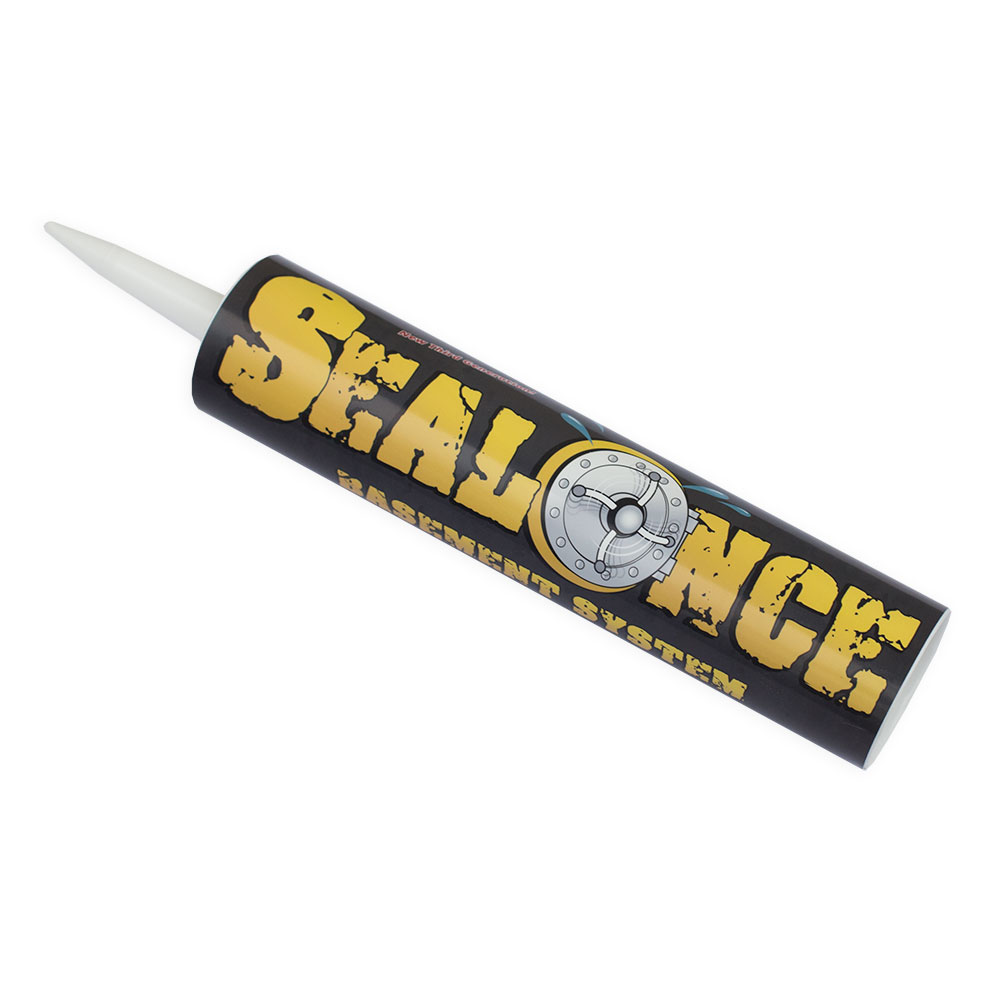
Step 5: SealOnce™ Adhesive
Angle cut the tip just under the cone shaped end. This will give you the largest opening needed for applying SealOnce™ Adhesive to all surfaces. One tube of SealOnce™ Adhesive is needed per main section for proper installation.
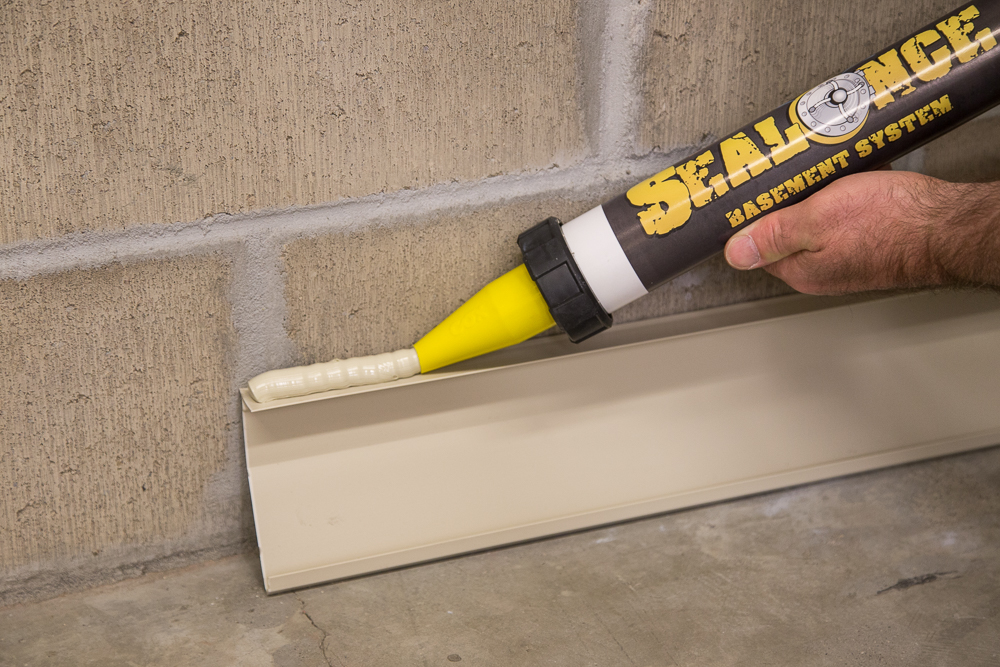
Step 6: Applying Bottom Bead of Adhesive
Important step! The bottom bead of adhesive is your system’s structural bond to the concrete floor. Start by turning the main section over and apply a tall, thick bead of adhesive (about the size of your thumb) to the bottom of the main section. Turn the main section back over and set in place. Do NOT press down too hard. Lightly, seesaw the main section a little right and left to better contact SealOnce Adhesive to the floor. Then hold the main section in place with gentle pressure for about 30 seconds. This gives the adhesive a little pressure and time to ooze down into the concrete fines creating a permanent structural bond.
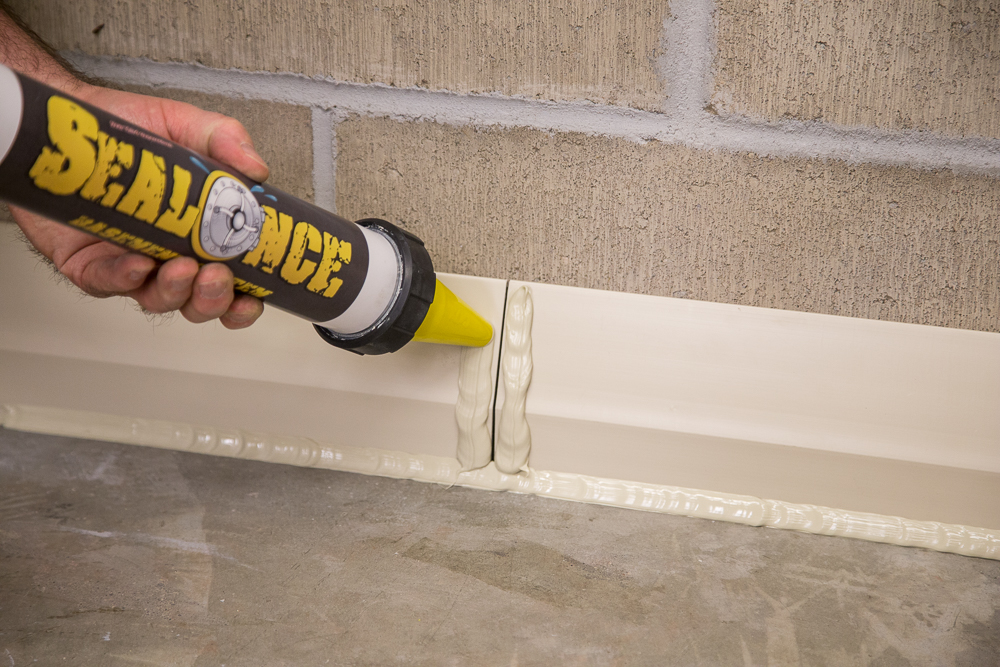

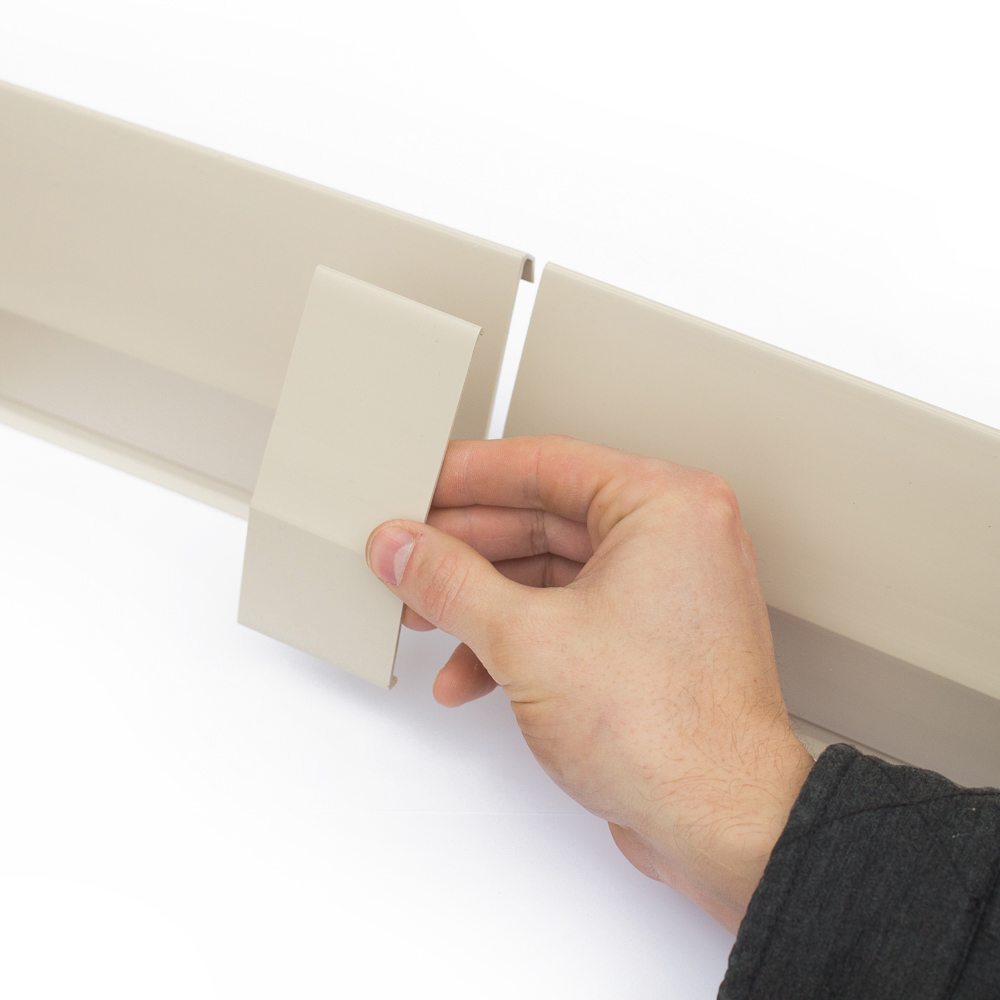
Step 7: Installing Butt Joints
Using coarse sandpaper, rough up the ends of the main sections and back side of the butt joints. This will give you a strong bond between all vinyl-to-vinyl surfaces. Wipe the areas free of dust. Apply SealOnce Adhesive on both ends of the adjoining main sections.
Next, hook the butt joint at the bottom of the main section and “snap” in place at the top. It’s okay if a butt joint will not “snap” in place. The floor may be unlevel or baseboards my not line up exactly. Seal the edges of the butt joints and caulk the bottom to ensure there are no leaks. Clean up the edges of the butt joints using a putty knife.

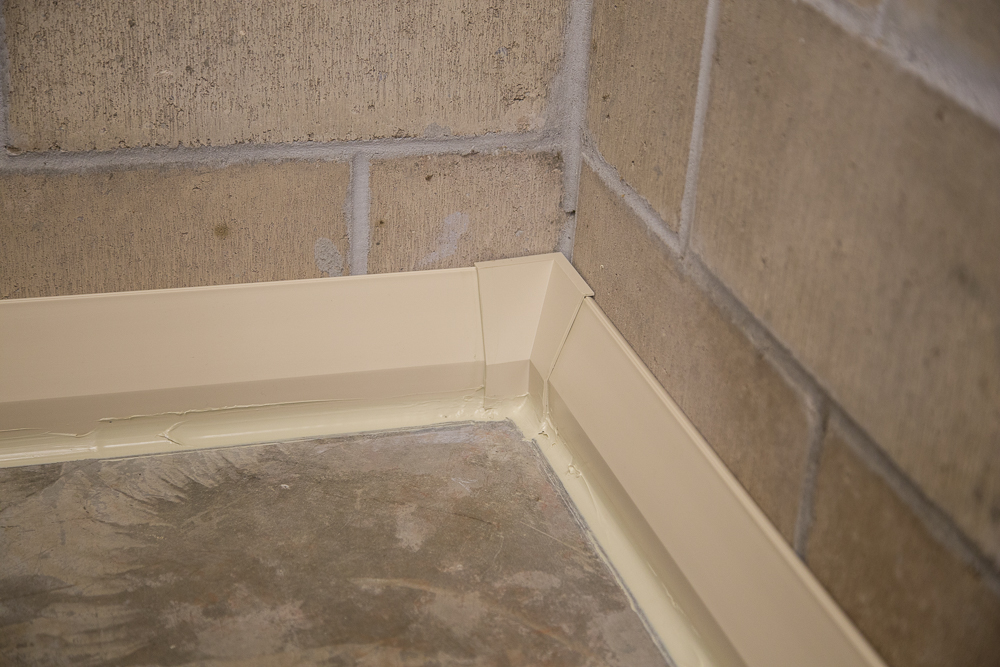
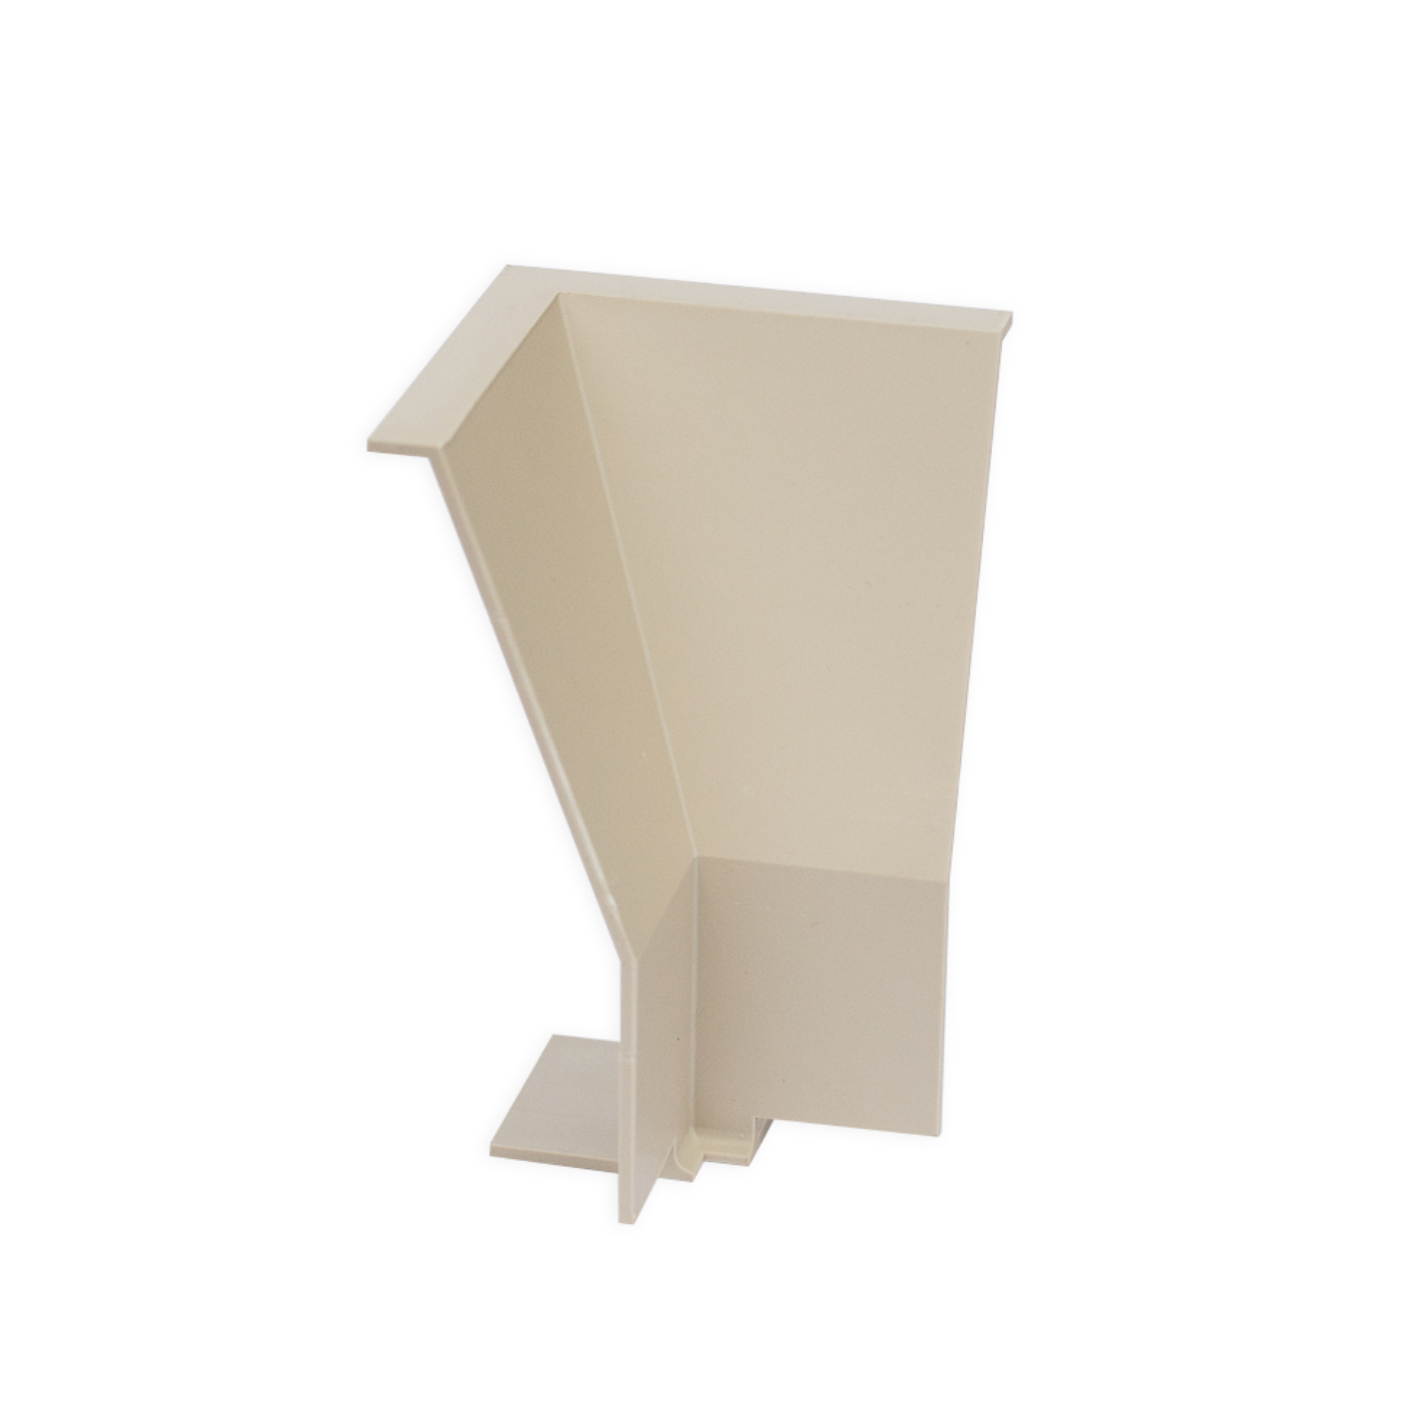
Step 8: Installing Corners
Start by roughing up the ends of the main sections and back side of corner with coarse sandpaper. Apply SealOnce™ Adhesive on both main sections. Apply SealOnce™ Adhesive on bottom of the corner before setting in place. Inside corners are easy to install when dropped down from the top. Seal the corner’s edges and caulk the bottom for a watertight bond. Clean up the edges of the corners using a putty knife.


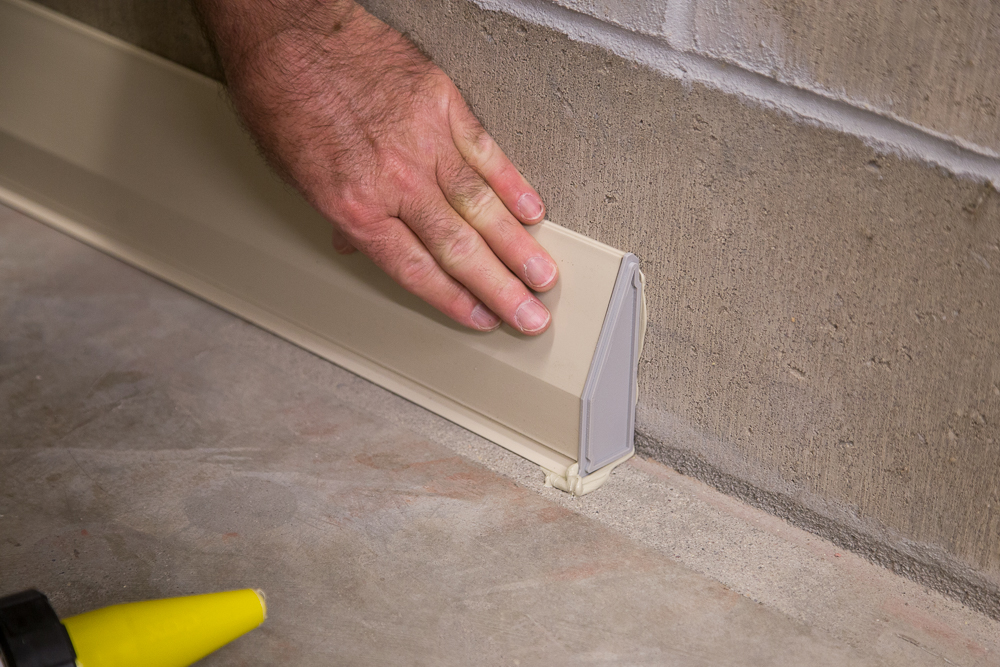
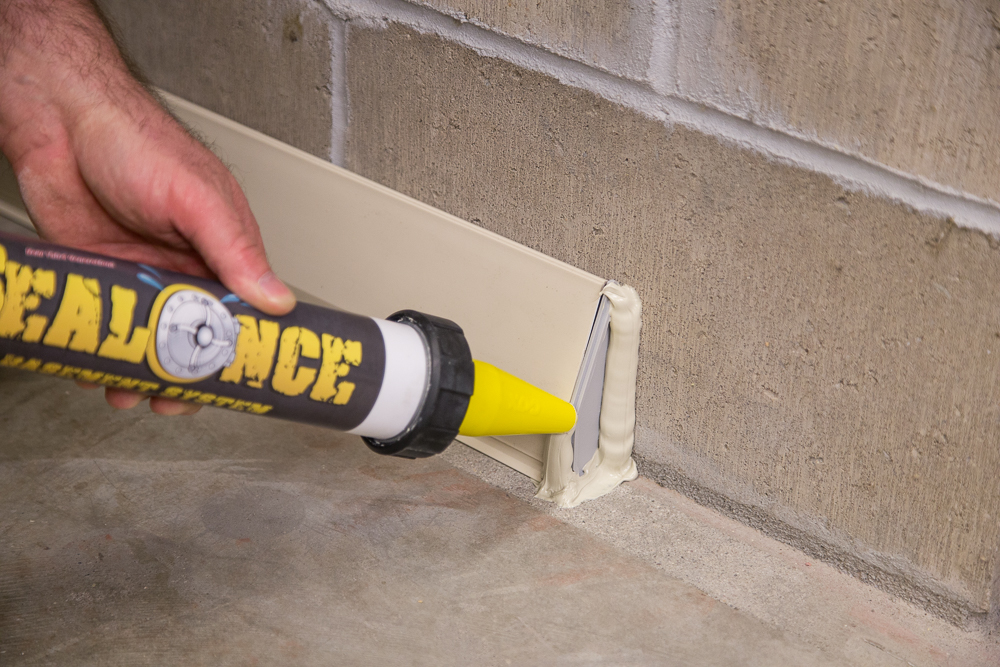
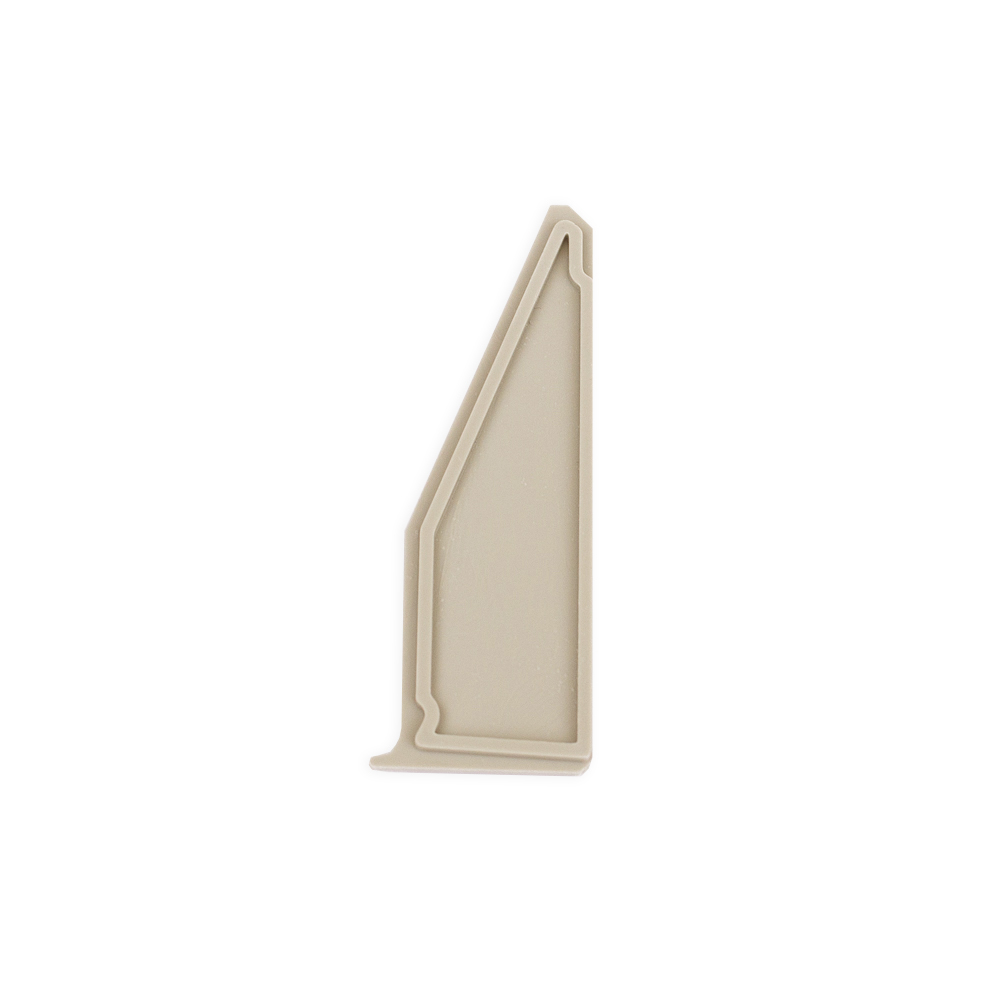
Step 9: Installing End Caps
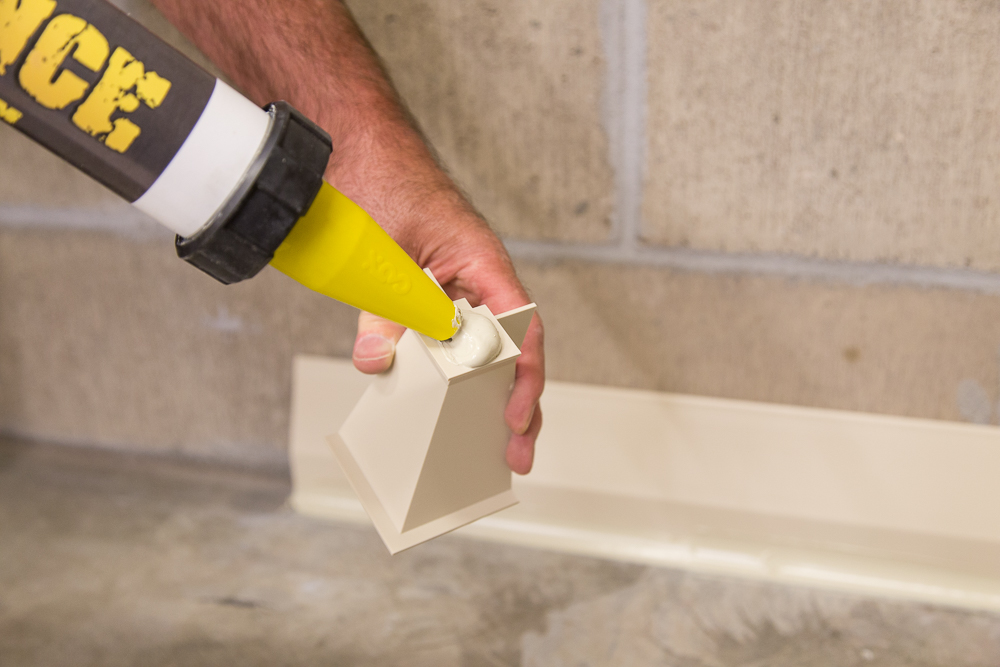
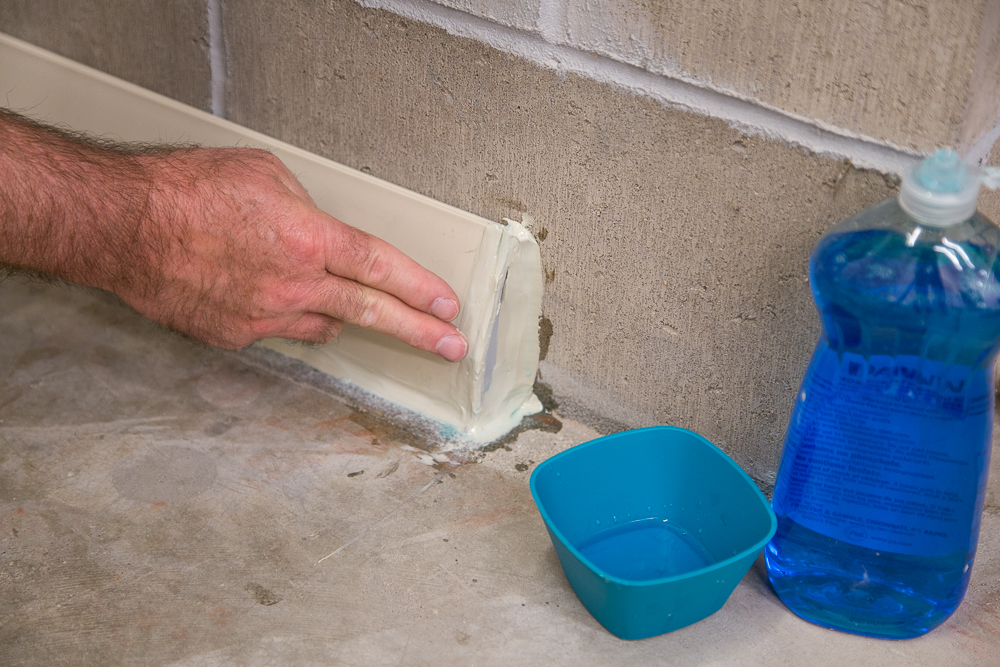
Run a bead of SealOnce™ Adhesive down the wall and along the floor where the end cap will be installed. Set the end cap in place. Caulk all the joining surfaces using the SealOnce™ Adhesive. Using your fingers dipped in liquid soap, feather out the SealOnce™ Adhesive along the edges of the end cap for a watertight bond.

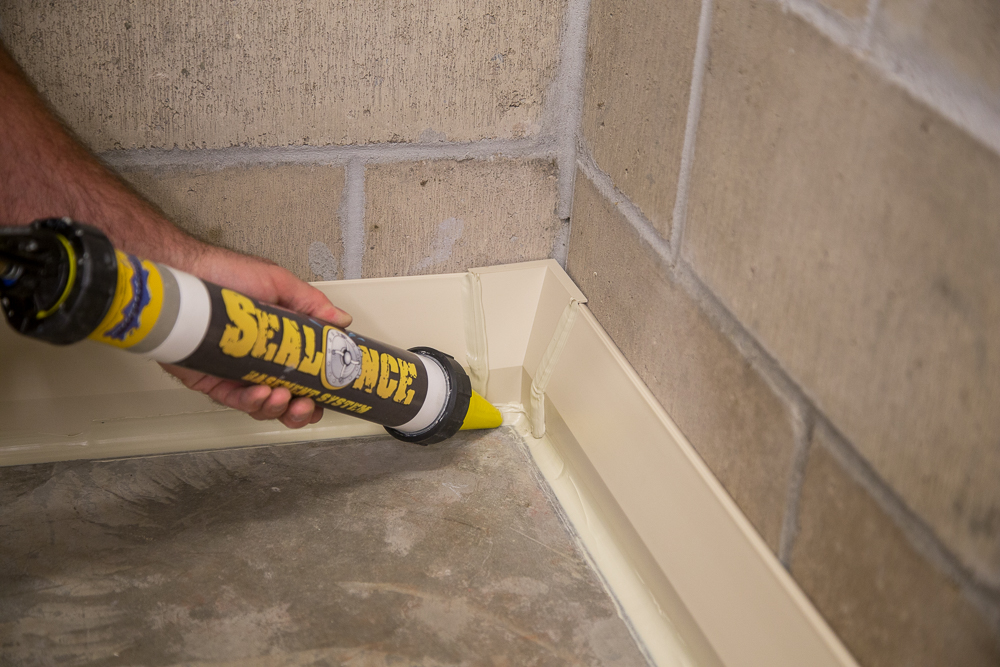
Step 10: Applying Finishing Seal
Important step! Working with one main section at a time, caulk the floor joint with enough pressure to force some SealOnce Adhesive under the system. Immediately follow to next step…
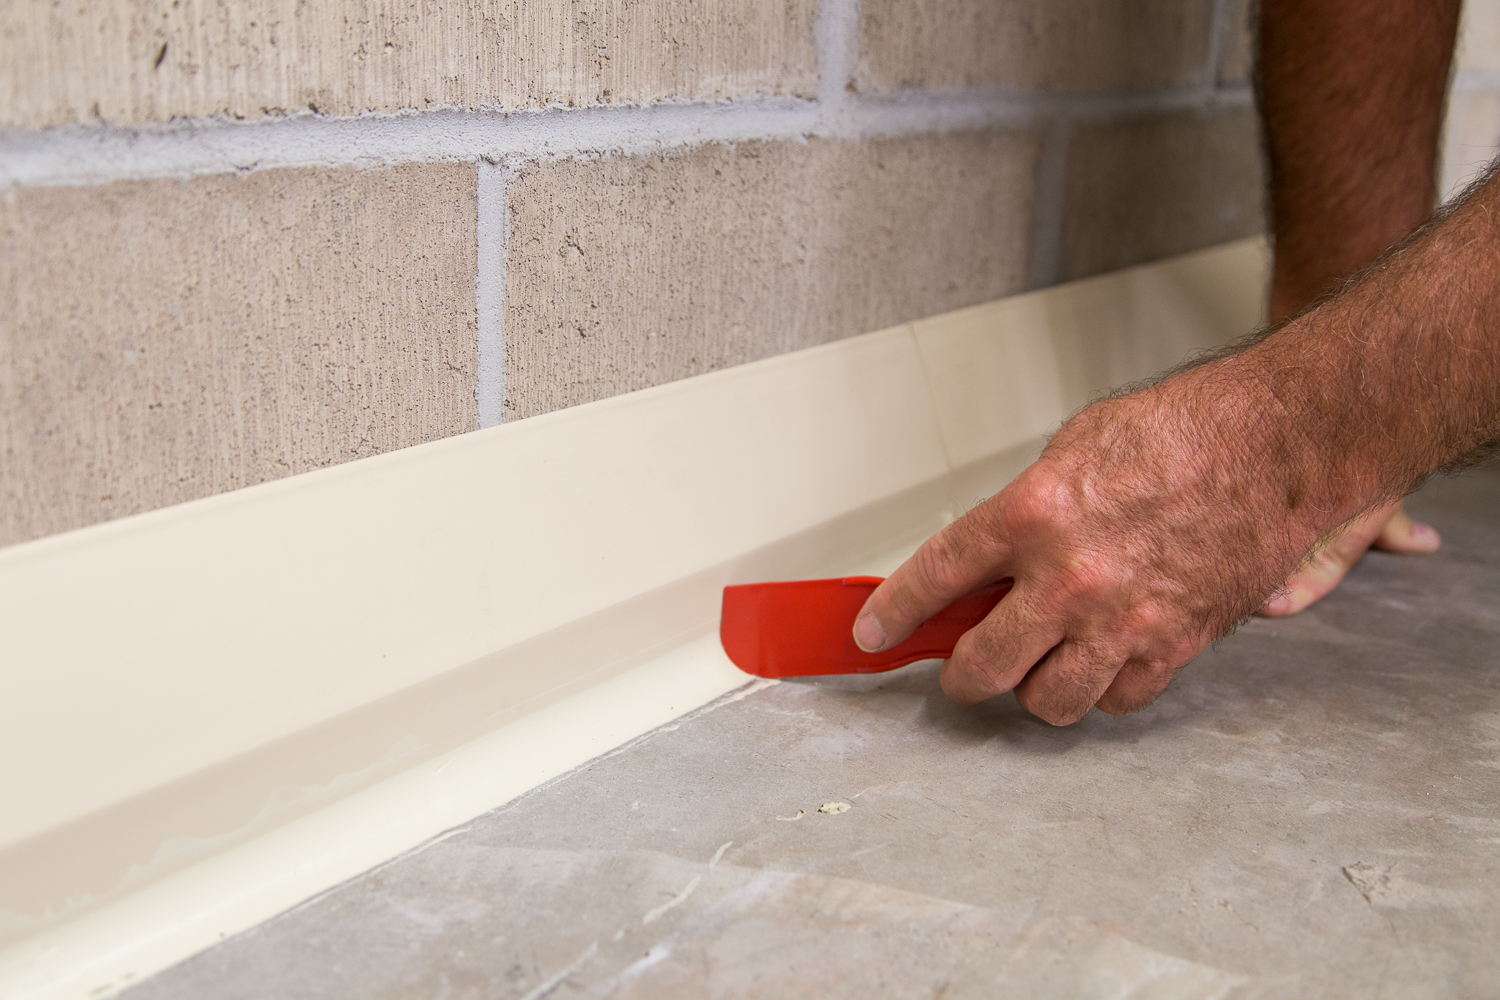
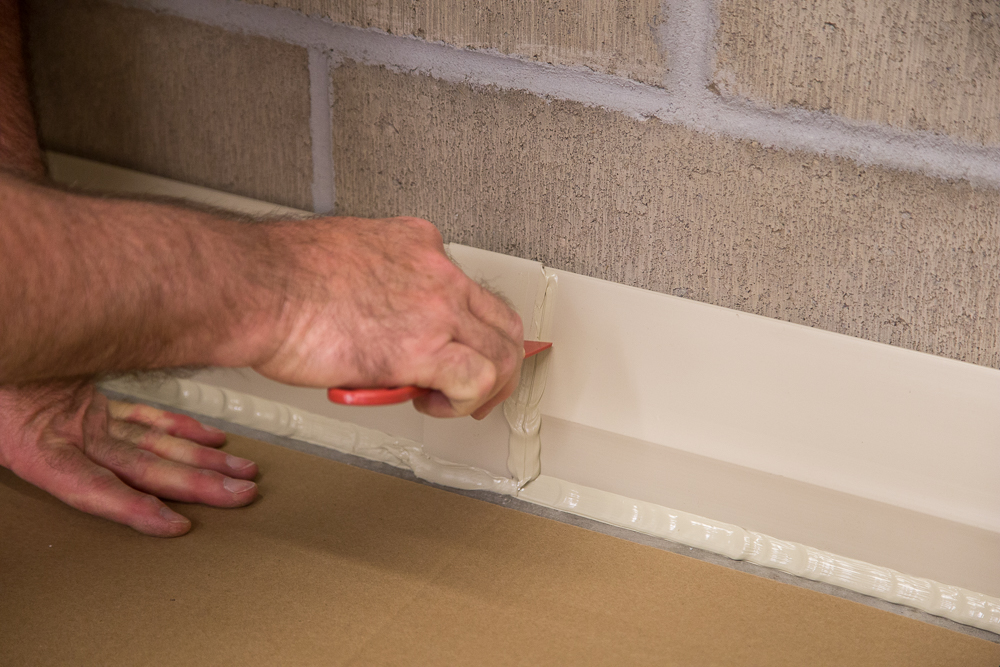
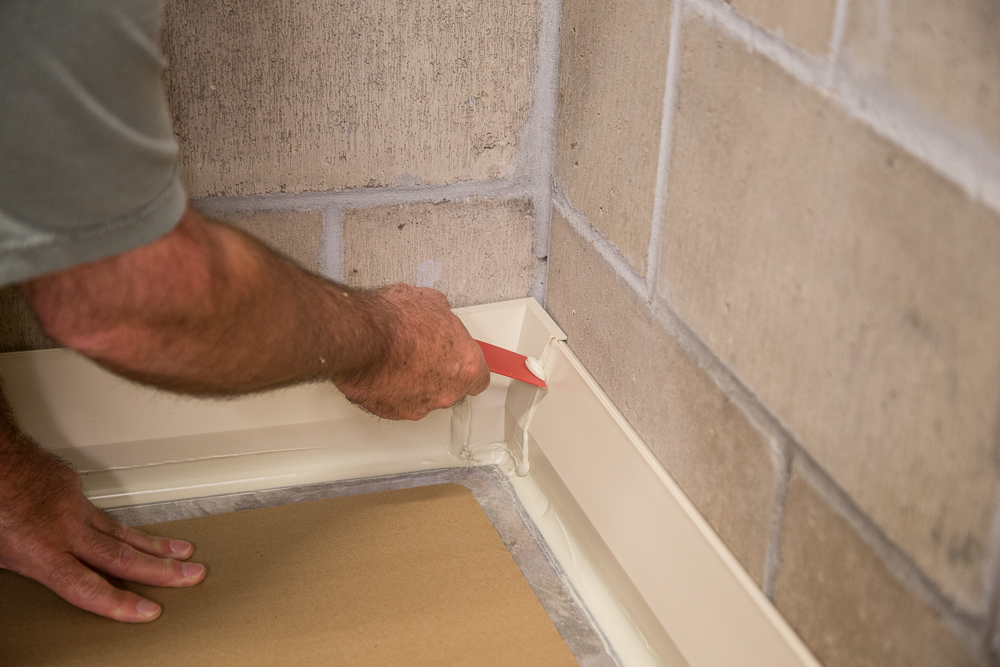
Step 11: Easy Water-Tight Seal
Important step! As soon as you caulk each section and before SealOnce Adhesive starts to thicken, slick down the finishing bead of adhesive our NEW Perfect SealOnce bull-nose tool. Notice how we raise the handle until the straight edge of our tool rubs flush against the face of the system (watch the video on how to use the NEW Perfect SealOnce Tool Kit at the top of this page). Holding the tool in this position slowly drag it all the way down the system leaving a perfect seal. The finishing seal is your water-tight seal of your system.
")
Step 12: Draining the System
There are two options when draining the SealOnce Basement System. Option A: drain into a floor drain.
Option B: drain into a sump pump. Drainage to a sump pump in most communities is the proper method of disposing of ground water. Be sure to check with your local building codes before draining to a floor drain.
Step 12-A:
Option A (Drain into Floor Drain)
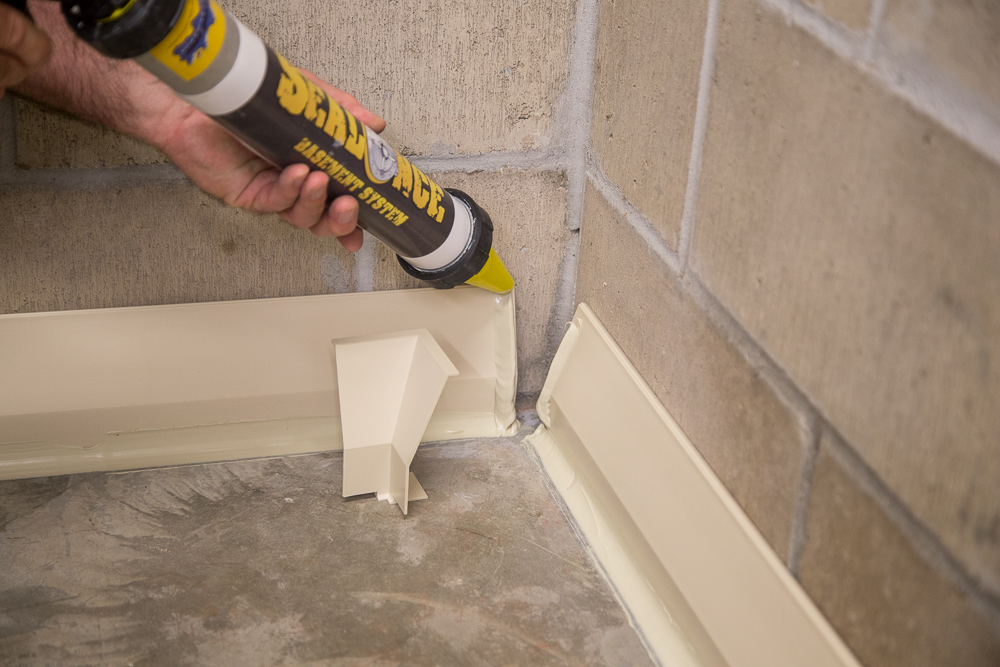
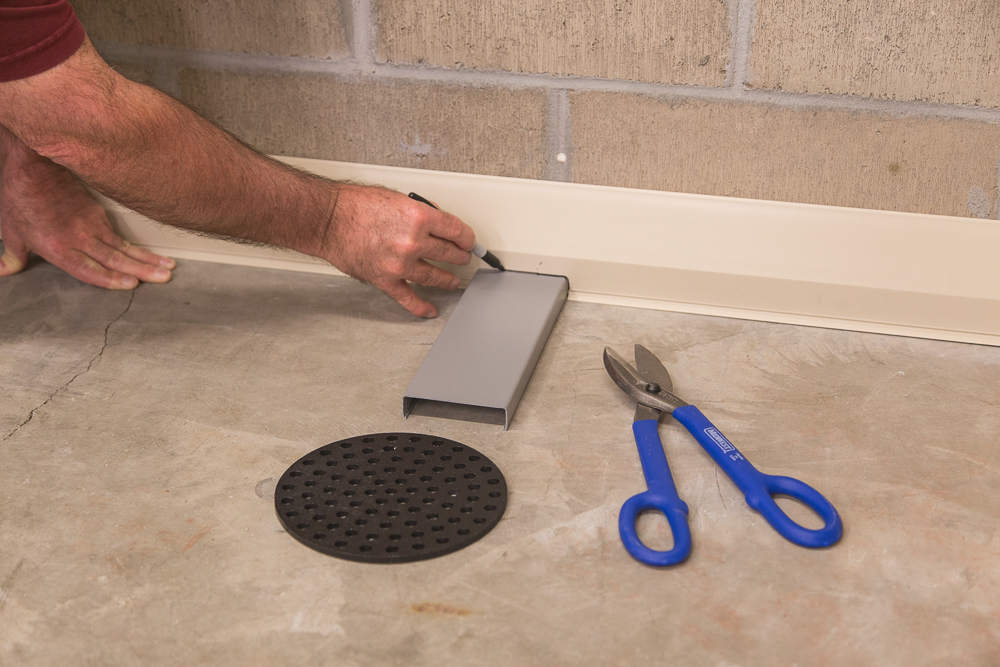
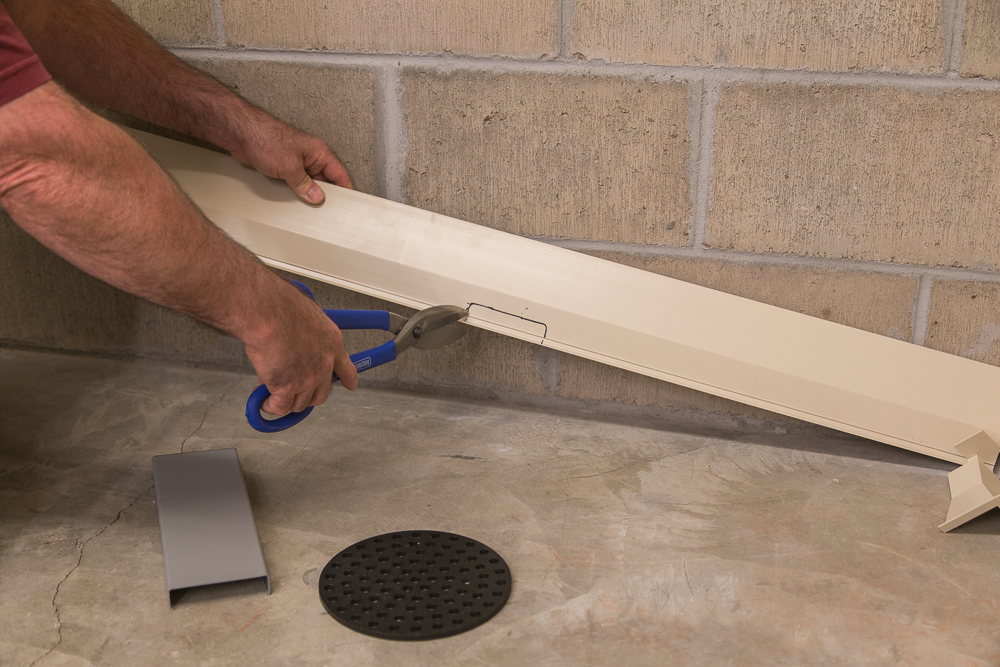
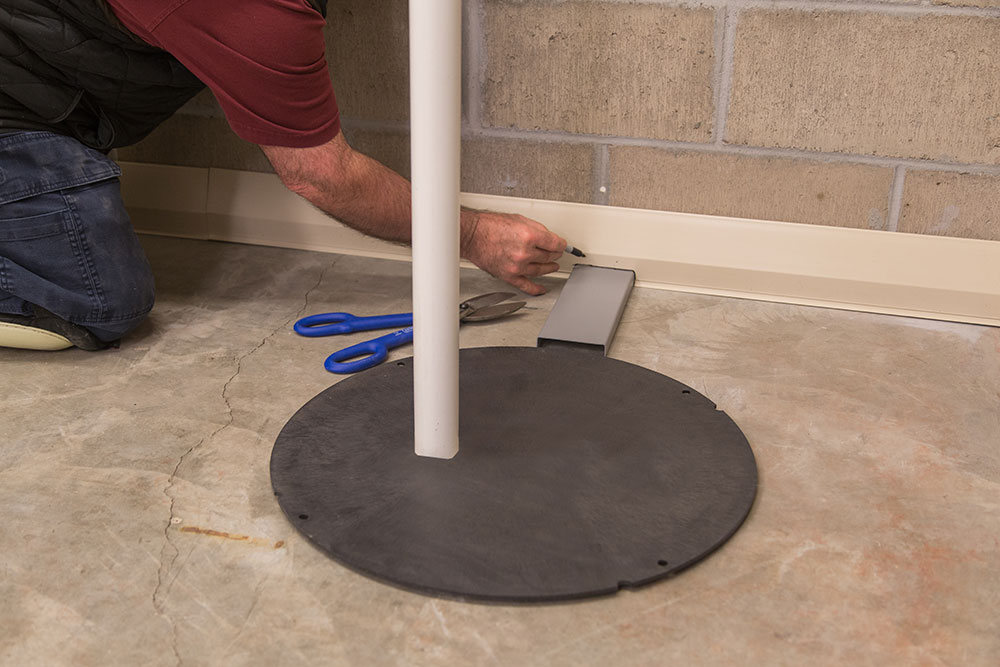
Set the drain port in place and trace along the outside. Using a tinsnips, cut out the opening in the main section. Glue the drain port to the floor and seal the joint between drain port and main section with SealOnce™ Adhesive. Note: drain port does not slide into the system, it butts up to the system.


Step 12-B:
Option B (Drain into Sump Pump)
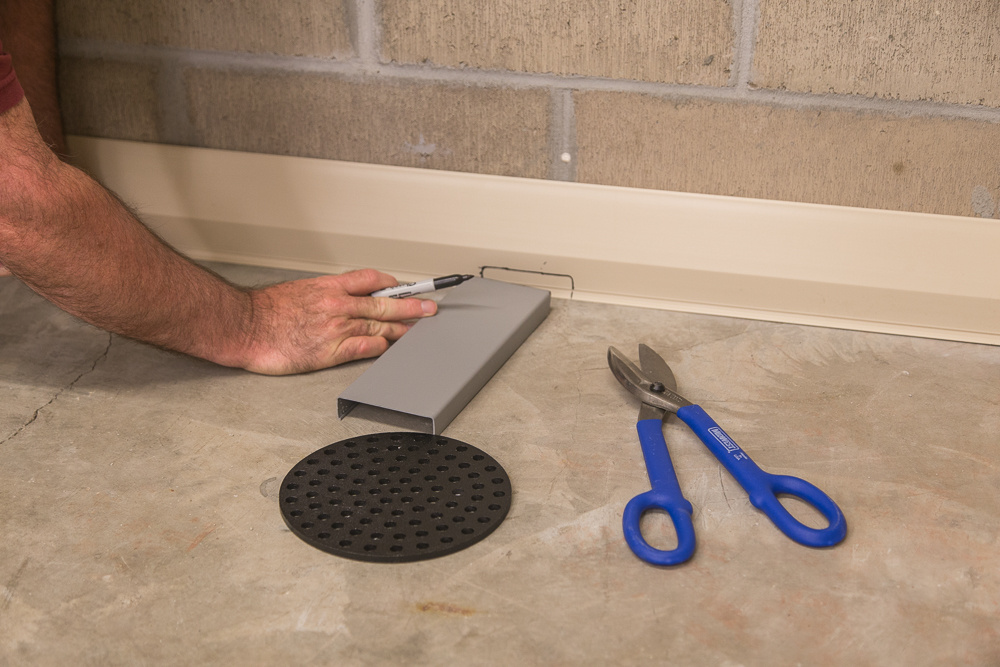
Set the drain port in place and trace along the outside. Using a tinsnips, cut out the opening in the main section. Glue the drain port to the floor and seal the joint between drain port and main section with SealOnce™ Adhesive. Note: drain port does not slide into the system, it butts up to the system. When draining to a sump pump, you will need to cut a small crescent-shaped opening in the lid to your sump lid so water can free fall into the sump basin.
Simply enter your basement’s linear footage in our calucator below and it will create your custom system with the quantities you need to waterproof your basement in seconds. We’ll package and ship your custom system direct from our Hudson, Wisconsin warehouse. Orders ship out same day when you order before noon CST.
Get Your Custom Quote
Enter your basement info here
SealOnce Basement System
Your Custom Kit
$0.00
| Item | Name | Qty |
|---|---|---|
 | Main Sections (4-foot lengths) | 0 |
 | Waterproofing Adhesive | 0 |
 | Inside Corners | 0 |
 | Outside Corners | 0 |
 | Butt-joint connectors (5-pack) | 0 |
 | End Caps | 0 |
 | Drain Port (23-inch length) | 0 |
 | Tool Kit | 0 |