How to Finishing Your Basement
Drying up your wet basement with the SealOnce Basement System is the first step towards a clean and healthy room ready for living, storage, and play! Adding additional living space is easy with a dry, waterproofed basement. Extra living space increases your home value instantly! Your options are endless, you could add another bedroom, bathroom, family room and much more!
Waterproofing a basement is always the first step in finishing a basement. This will ensure your investment of a finished basement and increase the value of your home. We’ll show you step-by-step how to finish your basement after you’ve installed our do-it-yourself SealOnce basement waterproofing channel.
Follow the instructions below…
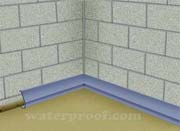
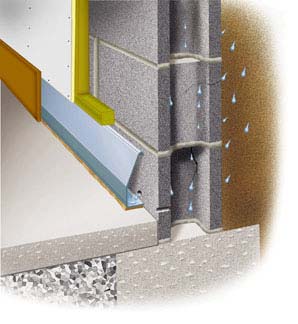
Step 1: Install basement waterproofing system
A basement can’t be finished until it has been properly waterproofed. Begin by installing the SealOnce Basement System along the perimeter of your wet, leaky basement to create a dry leak-free basement.
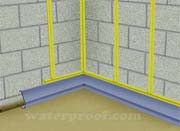
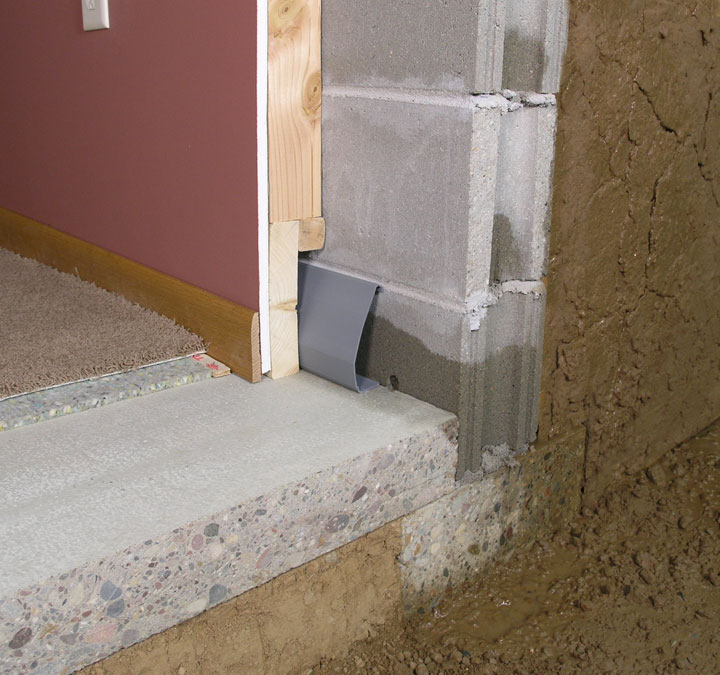
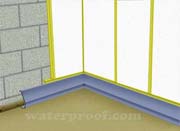
Step 2: Attaching Framing
Never drive nails into the floor. Horizontal base plates of 2″ x 2″ should be attached to the wall just above the SealOnce Basement System. Use masonry nails. Vertical 2″ x 2″ should be attached to the wall in the same manner. Run all 2″ x 2″s from the top of the wall down to meet the horizontal base plate.
Step 3: Insulate Basement Walls
Next, install insulation. Bead board insulation is an ideal product for basement walls.
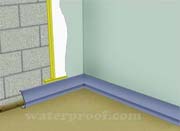
Step 4: Sheet Rock Walls
Now, it is time to sheet rock from the top of the wall down to the lower edge of the horizontal base plate. There should be a clear space under the new walls preventing water damage to the sheet rock.
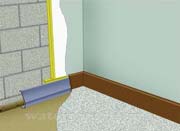
Step 5: Install Wall Finishings
Millwork is now attached to the walls with finishing nails that are driven into the horizontal base plate. Carpet can now be installed with two face tape. (VERY IMPORTANT: DO NOT NAIL TACK STRIPES TO THE FLOOR)